Best Classic Sourdough Bread Recipe - No Knead
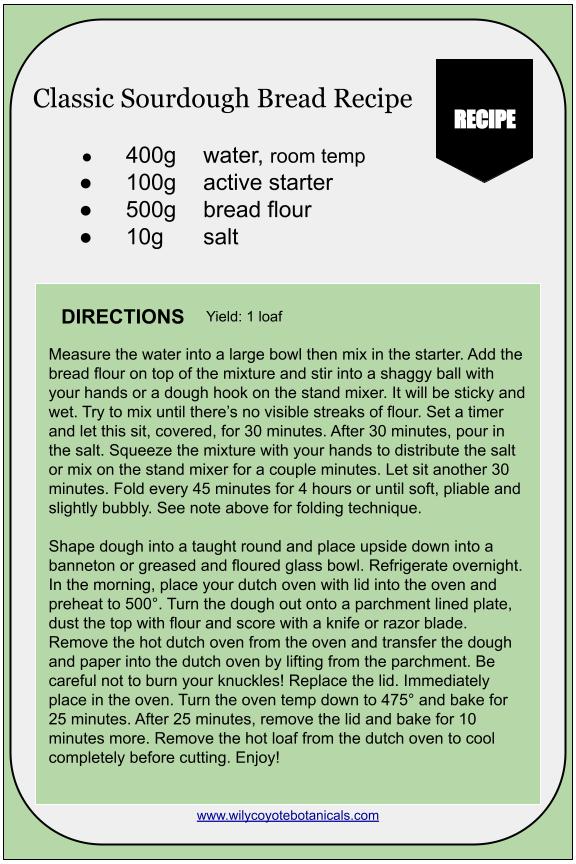
Best Classic Sourdough Bread Recipe - No knead!
Want to make your house feel like a home? Homemade sourdough bread. Need a thoughtful, inexpensive gift for a friend? Homemade sourdough bread. Want a healthier toast option? Need I say it again? I remember my first time making a sourdough starter in baking school over a decade ago. My classmates and I, donning our chef whites and toque hats leaning over plastic pint containers of flour and water. We stored them together on a rolling rack, peeking inside before class everyday eagerly anticipating some kind of bubbly activity. I loved every minute of baking school, but breads class was always my favorite! Bread just has this almost utilitarian, no BS, rustic beauty about it that just keeps me coming back for more.
I’m sharing a recipe today that I’ve adapted from the 2010 Tartine bread book. It’s consistently perfect sourdough bread. Crunchy crust, lacy crumb, chewy yet soft interior. Like sitting on the coziest leather couch… but you can eat it? I digress. First I’ll share a little about sourdough and what you’ll need for this perfect loaf.

What is sourdough?
Sourdough is a fermented food. Just like sauerkraut or yogurt, time and good bacteria break down or digest your food into something completely brand new, bubbly and delicious. In our case: flour + water + wild yeast + time = sourdough.
Many people who are sensitive to gluten can eat sourdough without problem because the fermentation process breaks down the gluten proteins making nutrients in the wheat more readily absorbed.
What tools and equipment will I need?
For this recipe you will need a large bowl, a medium bowl, a digital scale, something sharp like a razor blade, a dutch oven and your hands! The most important tool. If you want to make your life easier you can definitely include a stand mixer with a dough hook attachment, a flexible plastic bowl scraper and a banneton. All nice, but not necessary.
Do I have to use bread flour for sourdough? Can I use all-purpose?
Of course, you can use either, but for the best texture and shape USE BREAD FLOUR. The higher protein content in bread flour makes for a classic bakeshop chewy loaf with a perfect rise. Additionally, if you’re interested in getting the most nutrition out of your sourdough bread look for a bread flour that is “whole germ” or “sifted”. This will be a higher quality flour that’s still lighter than whole wheat, but made from the whole wheat kernel. It will result in a slightly browner loaf, but is higher in fiber and nutrients.
Troubleshooting sourdough bread
If your dough is very slack or not maintaining any structure after a couple folds, you likely have a problem with the flour. This is unusual but it happens. Your flour could be too old or just lacking the protein to form gluten. Check the expiration date. Good bread flour should list the protein percentage visibly on the bag. Anywhere from 11-17% is strong enough to create a good loaf of bread.
If the dough is not proofing, meaning it's not developing any gas bubbles and growing as time goes on then your starter was probably not active during the mixing process. To make sure your starter is active enough to make bread, drop a spoonful into a cup of water. If it floats it's ready. If it sinks, it needs more time!
On the other hand, if the dough has grown and deflated and no longer holds shape then it is overproofed. It likely smells sour or yeasty and has sat too long on the counter. Sadly, you’ll have to start over at this point. To avoid this, try to start your loaf in the morning or early afternoon to give yourself ample time for stretches and folding (more on this in the method below) and to observe the dough. Try not to leave the dough out overnight on the counter. I like to make bread when I have a nice slow day at home.
If the crumb is tight, meaning you’re not seeing those pretty lacey oblong holes in the interior when you cut it open, the dough likely needed more stretches and folds or time to proof on the counter before refrigeration. It could also be that you were a little too aggressive in the shaping process and knocked all those precious gas bubbles out of the dough.
If your bread is gummy after cooling and cutting it likely is under or overproofed and needed more or less time to create those delicious gas bubbles!
How can I tell when the sourdough is proofed?
Your dough is ready for shaping and refrigeration when it has become visibly larger in size (it won’t always look doubled like traditional commercial yeast recipes) and contains gas bubbles. It will also feel softer than when you first began folds. It should take anywhere from 4-6 hours for this to happen at a normal room temperature of 68-70 degrees with an active starter.
Can I make sourdough without a dutch oven?
In short, yes you can. You can make it on a cookie sheet if that’s all you have. I put a dutch oven on the required list of equipment because the dutch oven will get you a crust that looks like it came out of a professional bakery and the texture will be perfectly crunchy in contrast to the soft chewy interior. If you choose to bake it on a cookie sheet or loaf pan, it won’t expand to its maximum potential and the crust will cool to be a similar texture as the interior. If you don’t mind these differences then go right ahead!

How to fold and stretch sourdough bread
Good sourdough is all in the technique. No-knead doesn’t mean that you mix up the dough and let it sit there until it's ready to go in the oven… It still needs your help to form gluten! This is true of every good sourdough. After adding the salt and letting the dough sit for 30 minutes, you’ll notice that the dough is softer and more pliable. The gluten proteins have relaxed and it’s your turn to strengthen them back up again! Grab the top corner of the dough ball from the bottom of the bowl and fold up and over into the center stretching the dough without ripping it. Rotate the bowl and do this 3 more times as if the dough ball has 4 corners. Once you’ve given it its “folds” turn the dough over so that the seams are on the bottom. This is your first fold! Repeat as directed.

How to final shape sourdough bread
Once your dough is ready for its overnight rest in the refrigerator, turn it out onto a lightly floured or greased countertop.Pat it out gently with your fingertips into a flat circle shape then fold and stretch two opposing sides into the center. Starting at the bottom, roll the dough up lengthwise like a cinnamon roll. Pinch the seam together and set the dough seam side down into the prepared banneton or bowl. Cover the top with a tea towel or loosely with plastic wrap. Refrigerate overnight or up to two days to increase the sour flavor.